| Step 1: Installation
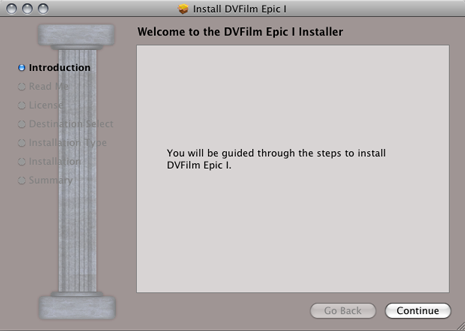
Unzip the file that you downloaded from our website or online store. Double-click on the installer package and the installer will run. When installation is finished, double-click on the DVFilm Epic for Mac Icon in your /Applications folder or drag it into your Dock. |
 |
|||||||||||||
 |
||||||||||||||
| Step 2:
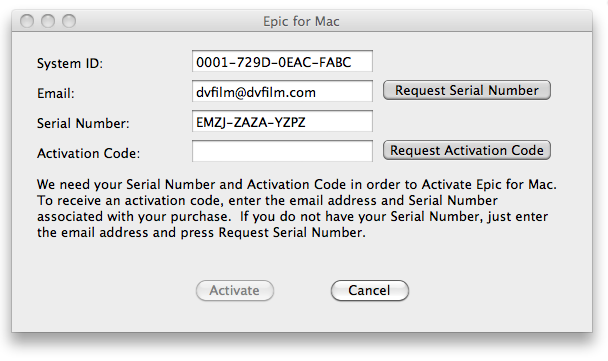
The Demo version does not require activation (skip to Step 3). When you first run the program (release version only) you will be prompted for your serial number, or you can request it be emailed to you automatically. If your computer is online you can request your activation code automatically. After that, there is no requirement to have the computer online and no further action is required to use the software. If the computer you are activating is not on the internet, then from an internet computer, get your serial number at dvfilm.com/serial. Generate an activation code using the System ID of the computer you are installing on and your serial number at dvfilm.com/activate. |
||||||||||||||
 |
||||||||||||||
|
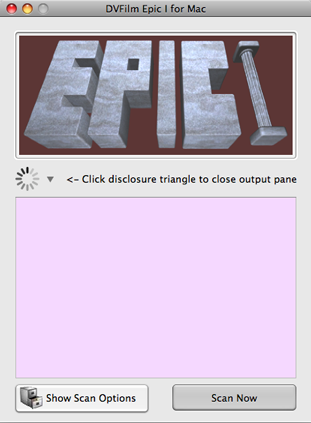
Step 3: View DVFilm Epic I for Mac Control Panel Open the Epic I Control Panel (at right), by clicking on the DVFilm Epic I Icon in your Applications folder or Dock. Drag your DSLR folders into the window and click Scan Now to import them into FCP. After the scan, and confirmation, FCP will open a bin with your clips in it (see next part of Tutorial). Show Scan Options: Opens the "General Options/Scan Options" tray (see below). Scan now: Tells Epic to create Epic Link Files. Disclosure Triangle: Shows or hides Epic processing in Epic Control Panel. |
||||||||||||||
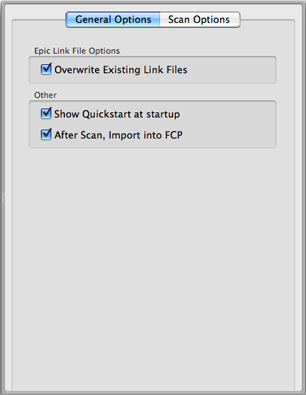 |
General Options Open the Epic I Control Panel (at right), by clicking on the "Show Scan Options" and then the "General Options" Tab. Epic Link File Options: Overwrite Existing Link Files: This option recreates the link files even if one exists already. This is helpful when you move or copy your project to another folder or disk drive, or you rename the folder with clips or folders containing folders of clips, or you rename the drive containing the clips. Other Show Quickstart at startup: Turns on the Quickstart guide when you run Epic I which gives helpful tips. After Scan, Import into FCP: Automatically imports the Epic Link files into FCP (with confirmation). |
|||||||||||||
|
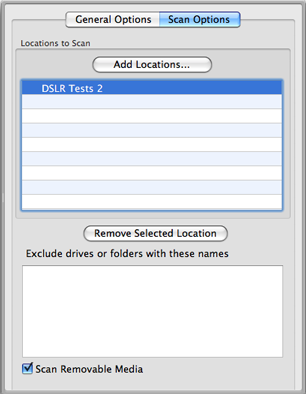
Scan Options Open the Epic I Control Panel (at left), click on the "Show Scan Options" button and then on the "Scan Options." Scan Options: Locations to Scan: Control where Epic looks for DSLR footage to create Epic link files from. Epic remembers these folders for the next time you run it. Also, you may use a "folder of folders." Epic will search subfolders for clips as well. Scan Removable Media: Use this feature to have Epic scan external drives for DSLR footage. |
 |
|||||||||||||
|
Using Epic I with FCP or Return to Index
|
||||||||||||||